Stage Four – Air Testing and Insulating
The first air test was carried out on April the 1st 2016.
It acheived 0.72pa ACH50. To reach Passivhaus standards it will need to be below 0.6pa.
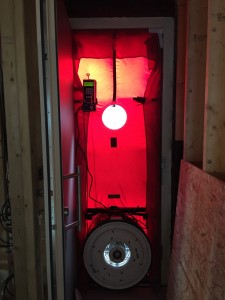
The air test was carried out on the DWD layer which is the external skin of the structure.
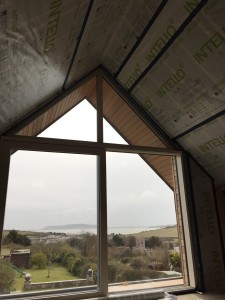
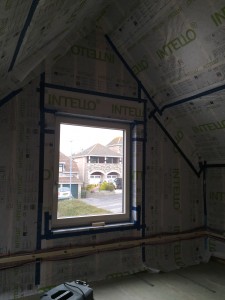
We spent most of the Easter weekend taping the internal membrane and sealing around the Windows. We ran out of tape on the Saturday afternoon and had to make a quick dash (1hour each way)to Back to Earth in Exeter for a box of Udi tapes. Thanks to Chris Brookman for opening up over the bank holiday weekend. We think the Udi tapes have more stickiness than the Tescon tapes.
Unfortunately we ran out of time before the pre-booked air test date, and we knew there were three windows that were not properly sealed. We also heard the ground floor sliding windows whistling during the test and we noticed that they too had not been properly sealed with silicon.
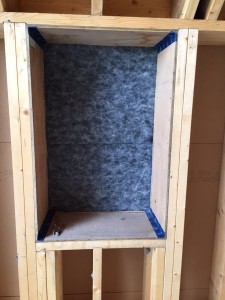
Therefore we are currently taping the internal Intello vapour barrier which we hope will create further air tightness. We feel confident that with the windows sealed and the additional air tight layer we should achieve the passivhaus requirement on the next air test.
We underestimated the amount of time it takes to hang, staple and tape the internal membrane, along with underestimating the amount of tape needed!
The South Elevation
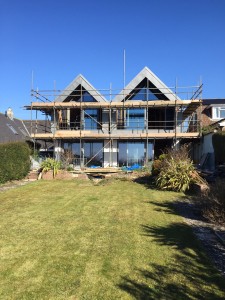
With the installation of our first floor windows and the completion of the zinc roof , we can finally say the building is water tight.
The South Facing Elevation has been covered up since May last year with a tarpaulin to provide protection against the wind and driving rain. We took the brave decision to remove it this morning.
During the design process we worked closely with our Passivhaus consultant. We originally proposed a large amount of glass to this elevation to maximise the sea views from inside. However when we started the PHPP process ( Passivhaus Planning Package) it was clear that we would have to revise the amount of glass proposed to the south facing elevation due to overheating inside the house. (Too much solar gain.) Our Passivhaus consultant also advised us that overheating in October and March would be a concern when the sun is at its lowest in the sky.
In order to progress with the PHPP we had to revise the design. Firstly we reduced the amount of south facing glass. Then we designed a 1m overhang to the roof and first floor to provide shading. Finally we specified a special reflective coating to the glass at first floor to reduce the amount of solar gain.
We allowed for two high level windows at ground floor to open (and be locked in the open position), and automated roof lights that open when the house becomes too hot. This will create a draft and will ventilate the house naturally when required.
The PHPP was updated and the results showed that the design revisions had reduced the amount of solar gain entering the house to an acceptable level for Passivhaus standards.
Topping Out
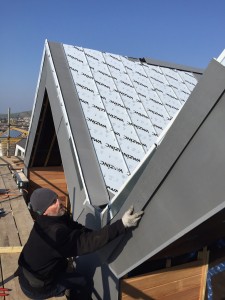
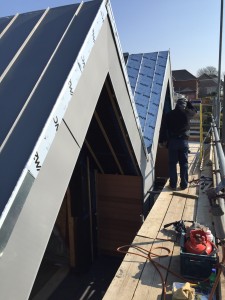
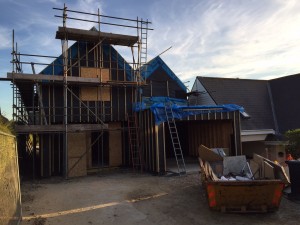
After the last two months of rain, wind and freezing conditions, the roofing contractors will complete the zinc roof today.
It is a great moment for our house building project.
When I look back in my diary the demolition contractors started demolishing the old bungalow exactly a year ago this week.
We are now looking forward to the first air test in two weeks time, which will provide us with critical information on whether the house is achieving the all important Passivhaus standards.
The Roof Lights
This week the roofing contractors and carpenters have been working closely together to install six large triple glazed Fakro roof lights ref: FTT U6.
We specified Fakro because they offer the best thermal efficiency on the market, Uw(W/m2K = 0.81.
Two out of the six roof lights will have an automated opening system, which means when the internal temperature of the house reaches a certain temperature the windows will automatically open and allow the internal temperature to cool. An outside rain censor will then tell them when to close.
The Windows
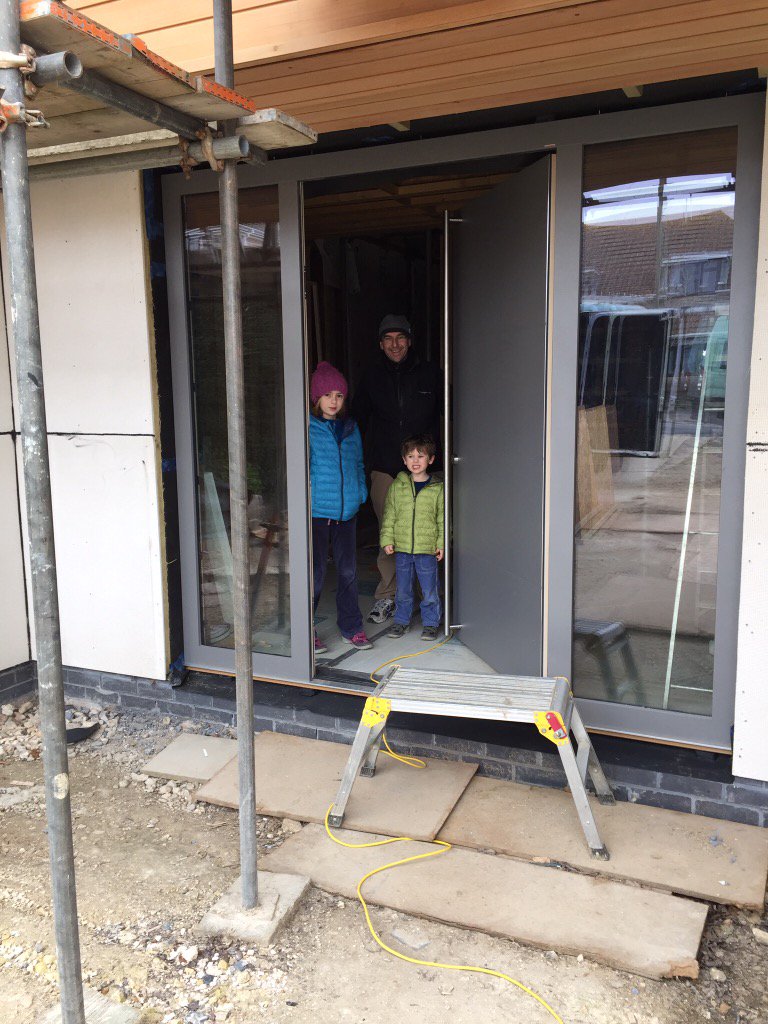
And finally after waiting 4 months for the windows and external doors to arrive from Austria, they were delivered to site on Thursday.
A big thank you to The Foot family for providing us with a telehandler JCB and a driver to help unload 3 tonnes of glazing on 4 large palettes.
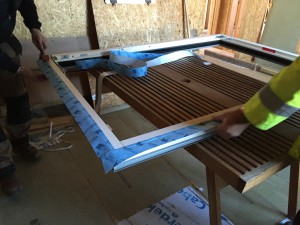
The window installers have started installing the smaller units on the first floor. Fitting windows to Passivhaus airtight standards takes precision and meticulous detailing to make sure the gaps around the windows get sealed and are airtight. We are using the Proclima Tescon Profil airtight tape around the frame internally, filling the gap with Illbruck F330 expanding foam and Extoseal Encors to the external wall & frame (especially under the cills).
The windows and external doors are highly thermally insulating low energy. The frames are a combination of timber on the inside and powder coated aluminium on the outside. They have excellent thermal insulation (Ug=0.5W/m2K Uw=0.69W/m2K) and soundproofing values up to 46dB.
Our Passivhaus Consultant and the timber frame manufacturers have recommended that we position the windows 80mm inwards from the airtight layer (16mm DWD Agepan breather board) in order to achieve optimum thermal performance.
For an architect running their own self build it is both rewarding and challenging. I am finding that there is much to learn about construction methods, sequencing, and the detailing required to build to passivhaus standards that a conventional build would not offer.
Every day on site is a CPD day for me!
The Roof
A New Year
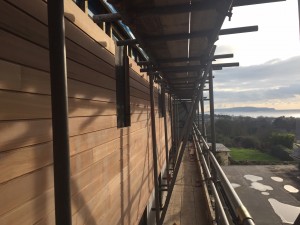
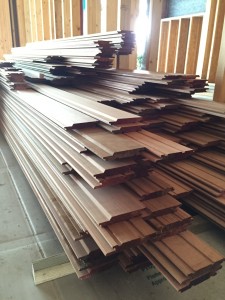
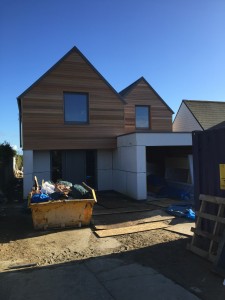
We are making the most of the mild weather and installing the cedar cladding to the first floor external walls this week. Gary, Will and John are back after a few months away, and are doing a great job.
The triple glazed Internorm windows and doors, (which were ordered at the end of July 2015), have not been delivered and so we are progressing with the external skin as best we can.
Cedar cladding
Render
The Box Gutters
We now have Steve on site laying a single ply membrane over the box gutter, garage roof and balconies.
The box gutter to the main house under construction.
The garage roof under construction.
The box gutter to the garage roof under construction & the fly screen to the underside of the coping, garage wall.
The balconies each have a beautiful box gutter made of birch ply set within the structure. These will eventually be covered over with the membrane to allow the balconies to drain properly.
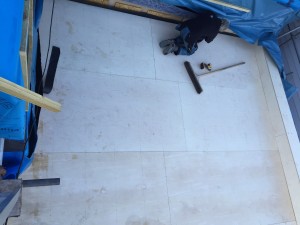
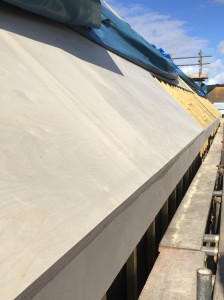
Gary, Will and John are fixing sheets of birch ply to the roof battens ready for the final roof covering.
Membranes & Tapes
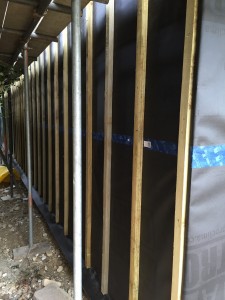
The house is wearing a pin stripe suit!
The last two weeks have unfortunately brought a considerable amount of rain and high winds, hindering progress on site.
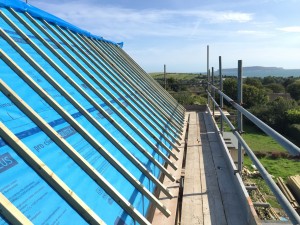
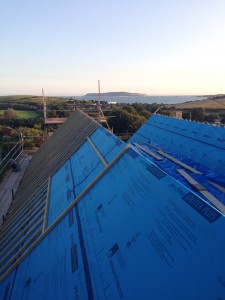
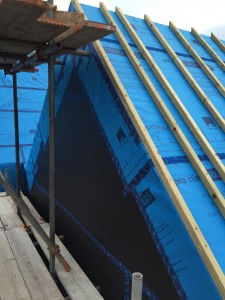
With the forecast showing a break in the weather Tom has started installing the membranes and battens to the roof.
The Pro Clima Solitex Plus membrane (blue) for the roof provides superior protection against condensation risk and extreme resistance against driving rain. It is an ‘active moisture transport’.
The manufacturer says ‘The closed cell technology unique to Solitex Plus ensures that it has the best combination of extreme water-resistance, high breathability and outstanding physical strength. Unlike conventional breather membranes which utilise a micro-porous membrane, Solitex Plus employs a revolutionary closed cell vapour-permeable film which provides weather tightness and at the same time, ensures that a significant amount of water vapour is actively removed from the inside of the building structure and diffused to the exterior.
The roof membranes are lapped and taped using Tescon Vana Tapes.
The 50×50 treated roof battens are screwed back through the 16mm airtight board to the timber rafters using 6.0 x 100mm stainless steel screws at 400 centres.
We are using the Pro Clima Solitex Quattro membrane (black) for the walls which are also lapped and taped using the Tescon Vana Tapes.
The battens create a very important continuous venting air gap behind the render to the walls. The air gap behind any battened cladding must be a minimum of 25mm and not bridged. We have allowed for a 38mm continous to the walls and 50mm for the roof. At the base of the walls we will provide an insect mesh.
Stage Three – (getting) Watertight
The Airtight layer
The timber framers are wrapping the external walls and roof with Agepan DWD protection. It is a 16mm thick tongue and grooved breather board which is sealed with mastic at each joint.
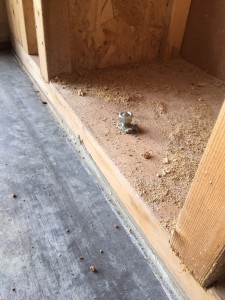
A layer of mastic is applied between the slab and the sole plate for an airtight detail, which is then anchored down into the slab with a steel bolt.
By the end of week 7 the airtight layer is complete.
Rafters
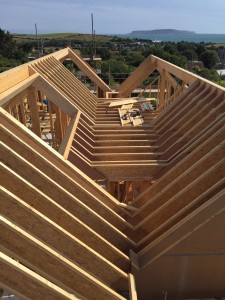
Another fantastic week of sunshine and fine weather has gone by and almost all the rafters are in place.
This is the end of week 5 and the timber framers are doing a great job of erecting the frame on programme.
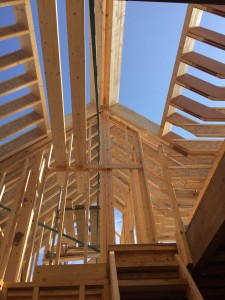
A glimpse of blue sky through the large structural glulams above the stairs in the hallway. The opening is for the roof lights.
Nice view over Portland as roof comes together on Dorsets first #passivhaus pic.twitter.com/BL2PPwCs3h
— Touchwood Homes (@TouchwoodHomes) July 21, 2015
The Roof structure
Taking shape
Finally after 5 months of demolition, excavation and construction, the timber frame is taking shape. The sway frame is bolted into place and shows us the outline of the south facing elevation. The large glulam frame forms the structure. For the first time you can see the outline of the new house from the street. The two gable ends and ridge beams are now firmly in place.
There are still stacks of wood everywhere, each carefully labelled with a serial number and destination.
And up…
Going up
At the end of week 3 the timber frame team have laid the first floor joists and started erecting walls to the first floor.
The I beams forming the entrance hallway at ground level have been clad with a 16mm thick DWD board which forms the airtight layer. The DWD board will eventually cover the entire house externally. We will then put the breather membrane over the DWD board, fix battens and cladding.


 sarah small